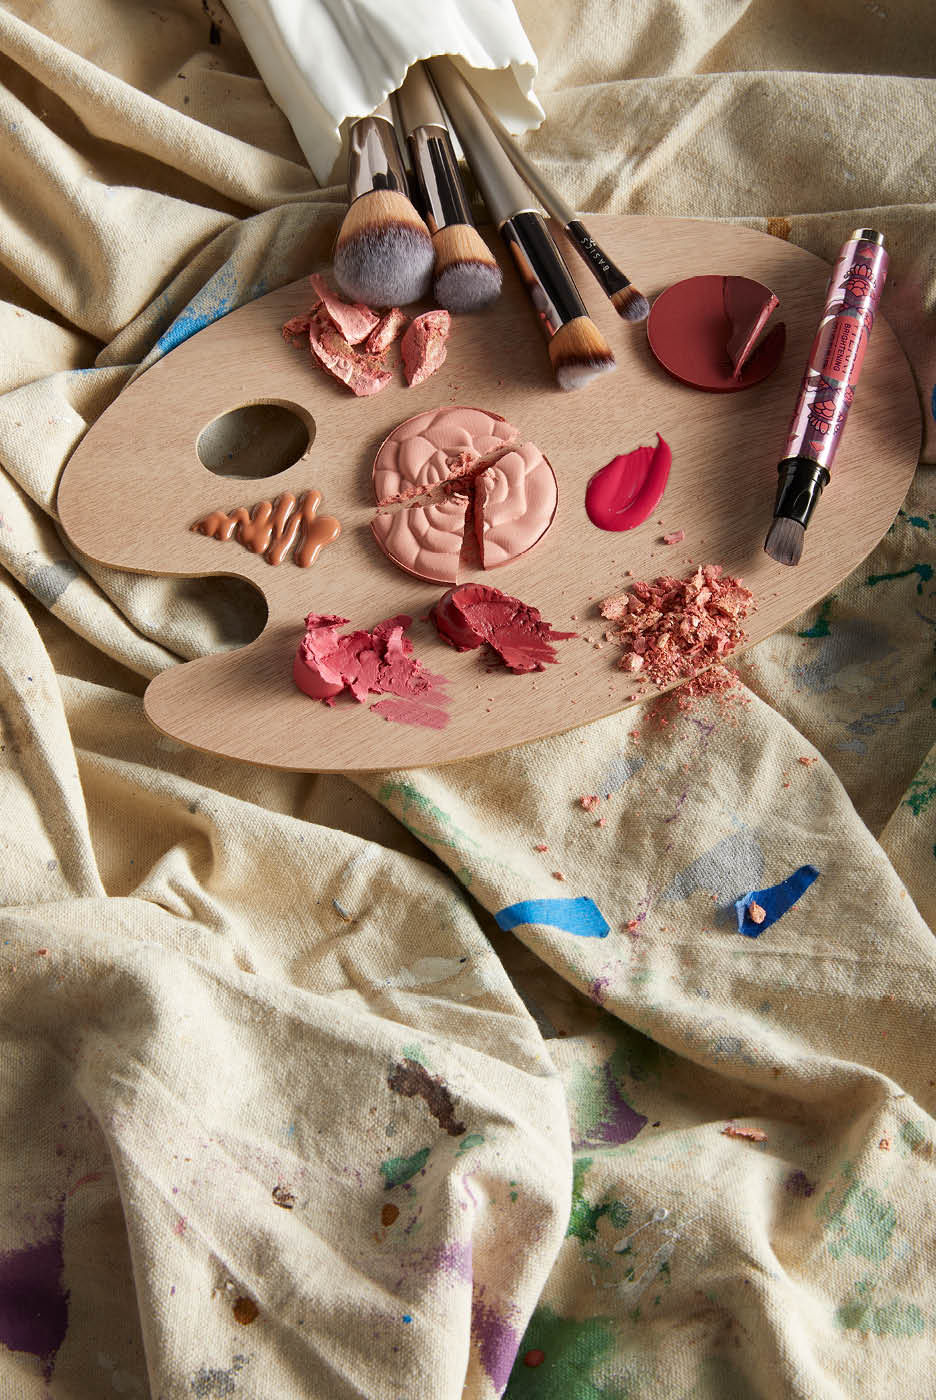
Walk into any beauty store today and you’ll be confronted with an array of gels, creams and powders in every shade of pink from light to taupe. Blush is back – in a big way.
“Blush is receiving a lot more love across all demographics and the trend is definitely saying, the more blush, the merrier,” says blush lover Charlotte Knight, CEO and founder of Ciate London, Lottie London and Skin Proud.
This is welcome news for those of us whose prevailing skin tone is ‘tired-looking’ and who struggled to master the bronzed, chiselled ‘Kardashian’ look that’s dominated social media (and life) for the past few years.
Blush is receiving a lot more love
According to Knight, blush completes a make-up look “by adding warmth to the complexion and a healthy, natural glow,” particularly if you’re wearing full-coverage foundation that’s designed to mute your natural colouring. It’s also an essential tool in your make-up kit as you age, thanks to skin losing its pink pigment over time.
“The cheeks of a child have a natural flush of colour that gives them a youthful appearance,” says ByTerry make-up artist Charlotte Ravet. “Blush mimics that youthful complexion while sculpting the face as well.”
For many make-up artists, Knight and Ravet included, blush is their favourite make-up product to create a high-end look both on and off the runway.
The ABCs of Blush
Would it be a proper beauty trend without a viral TikTok moment? Love them or hate them, TikToks on the ABCs (with over 2.2 billion views!) of blush are actually pretty handy. Basically, blush application has been simplified by creators into alphabetical shapes…
O shape, aka the natural look
The O technique makes your face look naturally flushed. This placement is classic and suits most face shapes. It involves applying blush in an O shape on the apples of your cheeks and then blending it in a circular motion. It adds a youthful glow and fullness to your face.
W shape, aka the sun-kissed effect
Using a cream blush (until you’ve got the hang of it), begin at the highest point of one cheekbone and sweep it it down the centre of the cheek and then back up to the bridge of your nose. Continue this on the other side to make a W and blend it out for a ‘I just got back from Ibiza’ glow. Warning: this is probably the trickiest technique to master at home – you may look a little clown-like if you over-apply.
C, aka drama and lift
The C-shaped hack is all about delivering drama. This technique sees blush extend from the cheekbones all the way up to the brow bones (a C shape from brow to cheekbone). It’s also referred to as ‘draping’ in the make-up world and used to give a ‘lifted’ look. This hack makes ‘draping’ easy for beginners. Just don’t forget to blend.
How to choose the right blush for you
Just like foundation, there are many different types of blush to suit different skin types – from the classic powder to creams, sheer tints and now glosses.
For the most natural result, choose a shade that mimics the colour of your cheeks when you’re naturally flushed (think Pilates class, not half marathon). If you’re really pale, often a cool pink is best; olive complexions may suit an apricot shade; and for darker skin, a super-pigmented blusher is the way forward.
In terms of formula, it comes down to personal preference, wearability and ease. Creams and fluids are popular now, but powdered blush is still a consumer favourite and less drying (thanks, technology!) than previously. Some cream textures will set on the skin without needing another product, says Ravet, while others require a translucent powder to fix in place. That’s why it’s important to try products in-store if possible, so you’re comfortable with the application steps.
Top Tips
Preparing your base is key. Make sure you have double cleansed and removed any impurities before putting on any make-up, says Knight.
Apply your blush last, once your make-up is complete (eyes and lips, too), so you can gauge how much you’ll need.
Those with round faces should apply blush below the cheekbones, explains Ravet, while oval-shaped faces should apply it to the cheekbones, towards the temples if they want to lift.
Choose the right brush. Knight says it’s best to choose a “soft, domed brush that is both dense and fluffy, to ensure enough pigment is picked up and can be easily blended.”
For every day, try applying blush to your eyelids, either with or without other make-up products. “It instantly brightens the eyes and creates a cohesive look,” Ravet says.
Also…
Check your lighting. If your lighting (often in your bathroom) is not strong enough or too yellow, you might apply too much blush, says Ravet.
Perfectly blending your blush is crucial for a natural look – there should be no obvious demarcations visible after application.
Choose your shade wisely.
And meet the products we love…
Glow To Illuminating Blush – Ciaté London | MECCA gives a healthy, light-bouncing wash of warmth
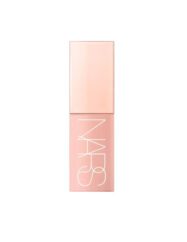
Afterglow Liquid Blush – NARS Orgasm | MECCA – the cult product has been liquified for those who love extra sheen
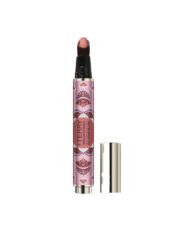
CC Liquid Blush – By Terry N1. Rosy Flash | MECCA – we love this brightening, long-lasting, dewy-finish formula that’s perfect for touch ups
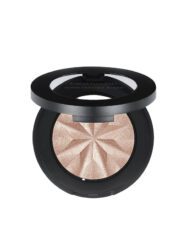
Gen Nude Highlighting Blush – bareMinerals | MECCA gives the perfect post-Pilates flush
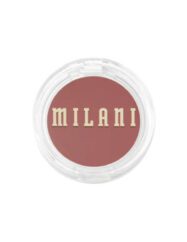
Cheek Kiss Cream Blush | Milani Cosmetics – creamy and a fab colour. Apply with a brush or fingers
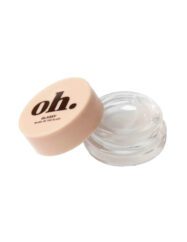
espressoh Glassy Blush By The Glass | Sephora Australia uses your skin’s own pigment to find your perfect blush match







No Comments